

Key Takeaways
- Never spray liquid directly onto any device - always apply it to a cloth first.
- Isopropyl alcohol (70%) is generally safe for hard surfaces; avoid bleach or ammonia-based cleaners.
- Compressed air is the safest tool for dislodging debris from ports and keyboards.
- Screens require the gentlest approach - use only a dry or very lightly dampened microfiber cloth.
- Power down and unplug devices before cleaning to avoid short circuits.
- Regular light cleaning prevents buildup that requires harsher methods later.
What you will need
Why Cleaning Method Matters as Much as Frequency
Dust, skin oils, food debris, and bacteria accumulate on devices quickly - especially high-touch surfaces like touchscreens and keyboards. Left unchecked, this buildup can degrade key responsiveness, block cooling vents (raising internal temperatures), and eventually work its way into ports. However, the wrong cleaning products can cause just as much harm as the dirt they're meant to remove.
Never Use These Products on Electronics
Bleach, window cleaners containing ammonia (such as many glass-cleaning sprays), hydrogen peroxide, and abrasive scrubbing pads can permanently damage oleophobic screen coatings, corrode metal components, and discolor plastics. Rubbing alcohol above 90% concentration can also strip protective coatings. Stick to 70% isopropyl alcohol on non-screen surfaces and plain distilled water on screens.
Many common household cleaners - particularly multi-surface sprays and glass cleaners - contain chemicals that react badly with the materials used in consumer electronics. Screen coatings, soft-touch plastic finishes, and rubber seals are all vulnerable. Using the right tools from the start keeps cleaning safe and effective without shortening your device's life. For a broader look at how everyday habits affect device longevity, see common habits that shorten a phone's lifespan.
Microfiber cloth
Lifts oils and dust from screens and surfaces without scratching or leaving lint behind.
Compressed air (canned)
Blows loose debris out of keyboard gaps, speaker grilles, and charging ports safely.
70% isopropyl alcohol
Disinfects hard, non-screen surfaces like keyboard keys, trackpads, and device backs.
Soft-bristle brush
Dislodges stubborn debris from keyboard crevices before using compressed air.
Distilled water
Safe, mineral-free option for lightly dampening a cloth when cleaning screens.
Wooden or plastic toothpick
Carefully removes compacted lint from charging ports without risking a short circuit.
Step-by-Step: Cleaning Your Device Safely
Follow these steps for phones, tablets, and laptops. The same principles apply across device types, though screens and keyboards need slightly different handling as detailed below.
What you will need
Power down and disconnect everything
Shut the device off completely - not just to sleep or standby. Disconnect the power cable, remove any USB accessories, and if you're cleaning a laptop, consider unplugging the battery if it's user-accessible. This eliminates the risk of electrical damage and ensures you won't accidentally trigger inputs while cleaning.
Clear the keyboard and vents with compressed air
Hold the can of compressed air upright to prevent propellant liquid from escaping. Use short, controlled bursts at an angle - avoid blasting directly straight down into ports or vents, which can push debris deeper. For keyboards, tilt the device slightly and work across rows from one side to the other. A soft-bristle brush can first loosen visible crumbs or dust before you blow them out.
Clean hard surfaces with isopropyl alcohol
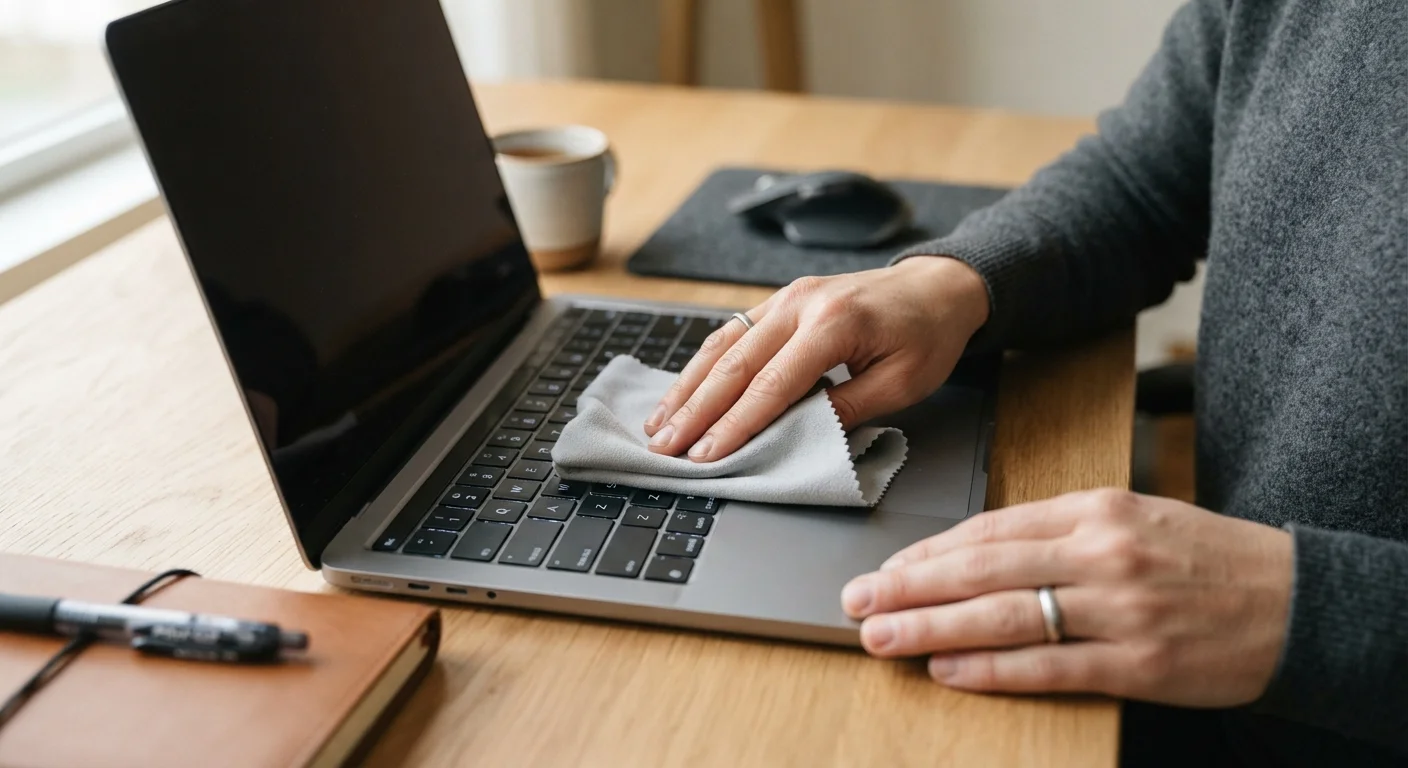
Apply a small amount of 70% isopropyl alcohol to a microfiber cloth - never directly to the device. Wipe down keyboard keys, the trackpad, the back casing, and any plastic or metal surfaces using light, even strokes. Allow the surface to dry fully (isopropyl alcohol evaporates quickly) before moving on.
Gently clean the screen
Screens are the most sensitive surface on any device. Start with a dry microfiber cloth and use gentle, circular motions - never press hard. If stubborn smudges remain, very lightly dampen a corner of the cloth with distilled water and wipe again. Let the screen air-dry completely before powering back on. Do not use paper towels, tissue, or clothing, which can leave micro-scratches over time.
Clear debris from ports
Charging ports and headphone jacks are notorious lint traps. Use short bursts of compressed air at an angle first. If debris is visibly compacted, a wooden or plastic toothpick - used with extreme care and zero pressure against the internal contacts - can tease it out. Never use metal objects, which can damage the contact pins inside.
Allow everything to dry, then power back on
Even though isopropyl alcohol evaporates quickly, give all surfaces a minute or two to fully dry before reconnecting cables or powering on. Inspect for any remaining smudges or debris and address them before closing a laptop lid or replacing a case.
Build Cleaning Into Your Routine
A quick weekly wipe-down takes under two minutes and prevents oils, dust, and debris from accumulating into stubborn buildup. Pairing cleaning with another habit - like charging your device for the night - makes it easier to stay consistent. See our device care habits guide for more ways to protect your tech long-term.
Regular cleaning is one of the simplest things you can do as part of a broader maintenance routine. The complete device longevity reference covers cleaning alongside battery care, software upkeep, and physical protection in one place.
Always Power Down Before Cleaning
Cleaning a powered device introduces the risk of short circuits if any moisture reaches internal components. Turn the device off completely, disconnect it from power, and - where possible - remove any connected cables or peripherals before you begin. This also prevents accidental input that could interfere with your work.