

Key Takeaways
- Six essential fluids keep your vehicle running safely: engine oil, coolant, brake fluid, power steering fluid, transmission fluid, and windshield washer fluid.
- Color and smell are often the first indicators that a fluid needs attention - not just the level.
- Most fluid checks require only a clean rag and a few minutes with the engine off and cool.
- Neglecting brake fluid or coolant can lead to brake failure or engine overheating - both serious safety risks.
- Your owner's manual is the authoritative source for check intervals and correct fluid specifications.
What you will need
Why Regular Fluid Checks Matter
Your vehicle relies on at least six distinct fluids to operate safely - each serving a specific mechanical or safety function. Unlike a dashboard warning light, fluid problems often develop gradually and silently. By the time a sensor triggers an alert, damage may already be underway.
Routine visual checks are one of the simplest ways to stay ahead of breakdowns and costly repairs. They require no specialized tools or mechanical experience, just a few minutes and the habit of doing it. This type of proactive care fits naturally into your car's broader maintenance schedule, and rounds out the kind of checks covered in our pre-drive vehicle checklist.
Before you begin, gather what you need and review the prerequisites below.
What you will need
Tools You'll Need
You don't need a full toolbox to check your fluids - the list is short and most items are already in many garages or glove compartments.
Clean lint-free rags
Used to wipe dipsticks clean before taking an accurate reading and to detect fluid color or contamination.
Flashlight or work light
Helps you see fluid levels clearly inside reservoirs and spot leaks under the hood.
Owner's manual
Provides manufacturer-specified fluid types, fill capacities, and check intervals for your specific vehicle.
Nitrile gloves
Protects your hands from oil, coolant, and brake fluid - all of which can irritate skin with repeated exposure.
With these on hand, work through each fluid check using the steps below. Always perform checks on a level surface with the engine off and cooled, unless a specific step instructs otherwise.
Check the Engine Oil
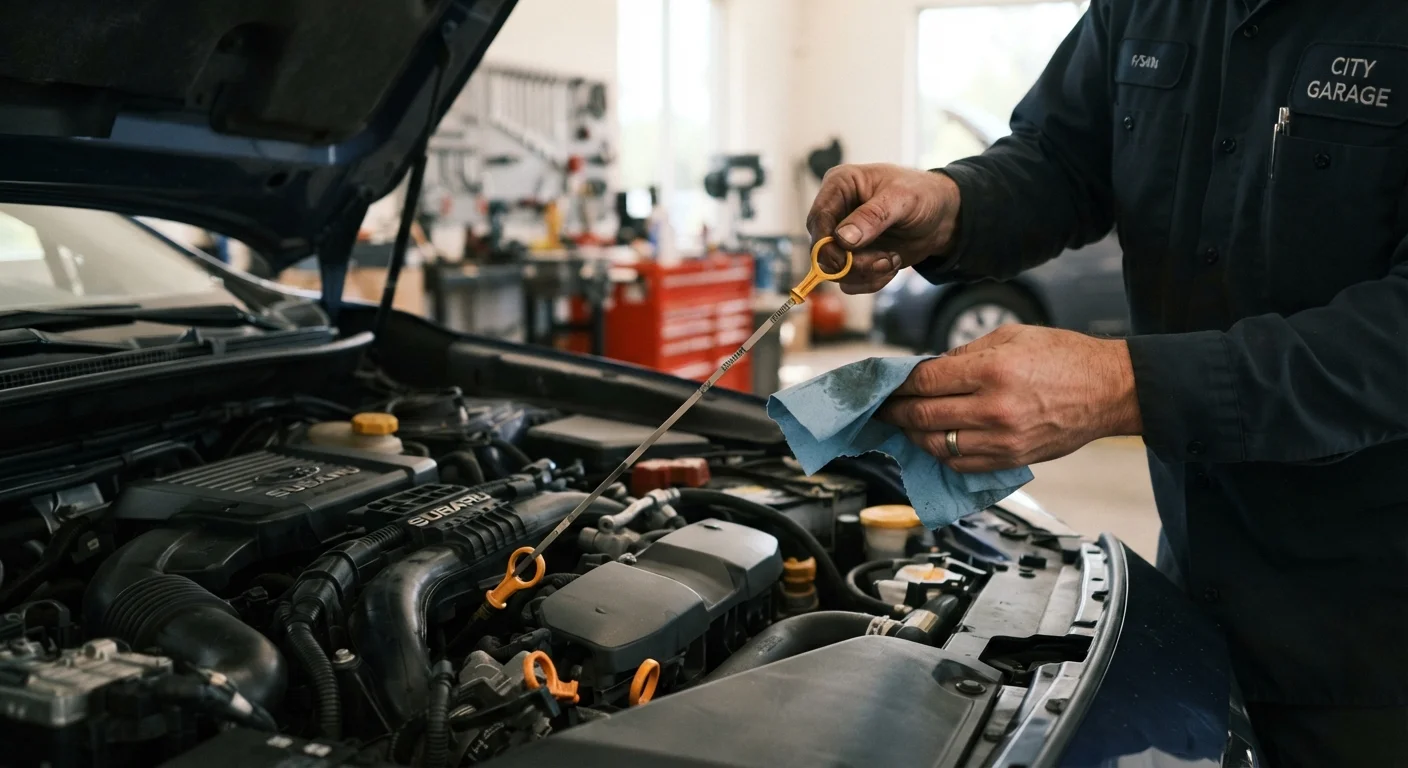
Locate the oil dipstick - typically a brightly colored loop or handle near the engine center. Pull it out, wipe it clean, reinsert it fully, then withdraw it again for an accurate reading. The oil level should fall between the two marks on the dipstick.
Also examine the oil's color and consistency. Fresh oil is amber and translucent; oil that appears nearly black or has a gritty texture is overdue for a change. Milky or frothy oil can indicate coolant contamination - a condition requiring immediate professional attention.
Inspect the Coolant Level
Most modern vehicles have a translucent coolant reservoir (also called the overflow tank) mounted near the radiator. You can read the level through the reservoir wall without opening the cap - look for MIN and MAX markings. Coolant should sit between these two lines.
Healthy coolant is typically bright green, orange, or pink depending on the formulation. A rusty, cloudy, or colorless appearance suggests it has degraded and needs flushing. Refer to your owner's manual for the correct coolant type, as mixing incompatible formulas can cause corrosion.
Check the Brake Fluid
The brake fluid reservoir is a small, semi-transparent plastic container located on top of the master cylinder, typically near the back of the engine bay on the driver's side. The level is visible through the reservoir - it should be between MIN and MAX lines.
Brake fluid that appears clear to light yellow is in good condition. Dark brown or black fluid has absorbed too much moisture and should be evaluated by a qualified mechanic. Note that a low brake fluid level can sometimes indicate worn brake pads as much as a leak - so low levels always merit investigation. For a deeper look at how your braking system works, see how your braking system actually works.
Inspect the Power Steering Fluid
Many vehicles have a power steering fluid reservoir with a dipstick built into the cap, or a translucent reservoir with level markings. Check that the level falls within the acceptable range marked for either HOT or COLD conditions, depending on your engine state.
Healthy power steering fluid is typically clear to light pink or reddish. Dark brown fluid or fluid with a burnt smell signals degradation. Note that many newer vehicles use electric power steering and have no fluid to check - consult your owner's manual to confirm which system your vehicle uses.
Check Transmission Fluid
Automatic transmissions typically have a dipstick (though many modern vehicles have sealed systems requiring professional service). With the engine warm and running (for most automatics), pull the dipstick, wipe it, reinsert, and check again. The fluid should be at the indicated level.
Healthy transmission fluid is bright red and slightly translucent. Pink or cloudy fluid may indicate water contamination; dark brown or burnt-smelling fluid suggests overheating or severe degradation. If your vehicle has a sealed transmission, interval-based fluid checks are handled by a mechanic during scheduled service.
Top Off Windshield Washer Fluid
The windshield washer reservoir is the easiest check - a clearly labeled, large translucent container that can be filled to the top. Use only purpose-formulated washer fluid, not plain water, as it can freeze in cold climates and lacks the cleaning agents needed to clear road grime effectively.
While this fluid does not affect mechanical safety the way others do, an empty reservoir in poor visibility conditions is a real driving hazard. Make this part of your regular routine check. You can find a full pre-drive inspection framework in our guide Before You Pull Out of the Driveway.
What to Do If Something Looks Wrong
Never Open a Hot Radiator Cap
Coolant systems are pressurized. Removing the radiator cap while the engine is hot can cause scalding fluid to spray. Always wait at least 30 minutes after driving before inspecting coolant levels. If the engine has overheated, wait even longer and consider having a qualified mechanic inspect the system.
If a fluid is low, note how quickly it dropped since your last check - rapid loss suggests a leak. Fluids that appear contaminated (milky, foamy, or burnt) should be assessed by a qualified mechanic rather than simply topped off. Topping off without addressing the root cause can delay a diagnosis and worsen damage.
Color changes are especially meaningful for brake fluid and coolant. Understanding your braking system helps you interpret what brake fluid condition actually means for stopping performance.
Brake Fluid Changes Are Safety-Critical
Brake fluid is hygroscopic - it absorbs moisture from the air over time, which lowers its boiling point and can lead to brake fade or failure under hard braking. Dark brown or black brake fluid should be inspected by a mechanic promptly. Do not delay addressing brake system concerns.
Keep a Simple Fluid Log
After each check, jot down the date, mileage, and fluid condition in a small notebook or phone app. Patterns - such as consistently low oil between changes - can signal a developing problem like a leak or oil consumption issue. Early detection is far cheaper than late repairs.
Pair your fluid checks with equally important tire maintenance - see tire pressure, tread, and rotation basics for a complete picture of routine vehicle upkeep. Together, these habits support the safe driving practices every driver should follow.